Berry Cheesecake Cake: A Layered Dessert Without the Extra Calories
Discover a low-calorie berry cheesecake cake that's indulgent and creamy. Learn ingredient swaps to satisfy your dessert cravings guilt-free.
Why Berry Cheesecake Cake Is the Perfect Choice for Those Who Watch Their Diet
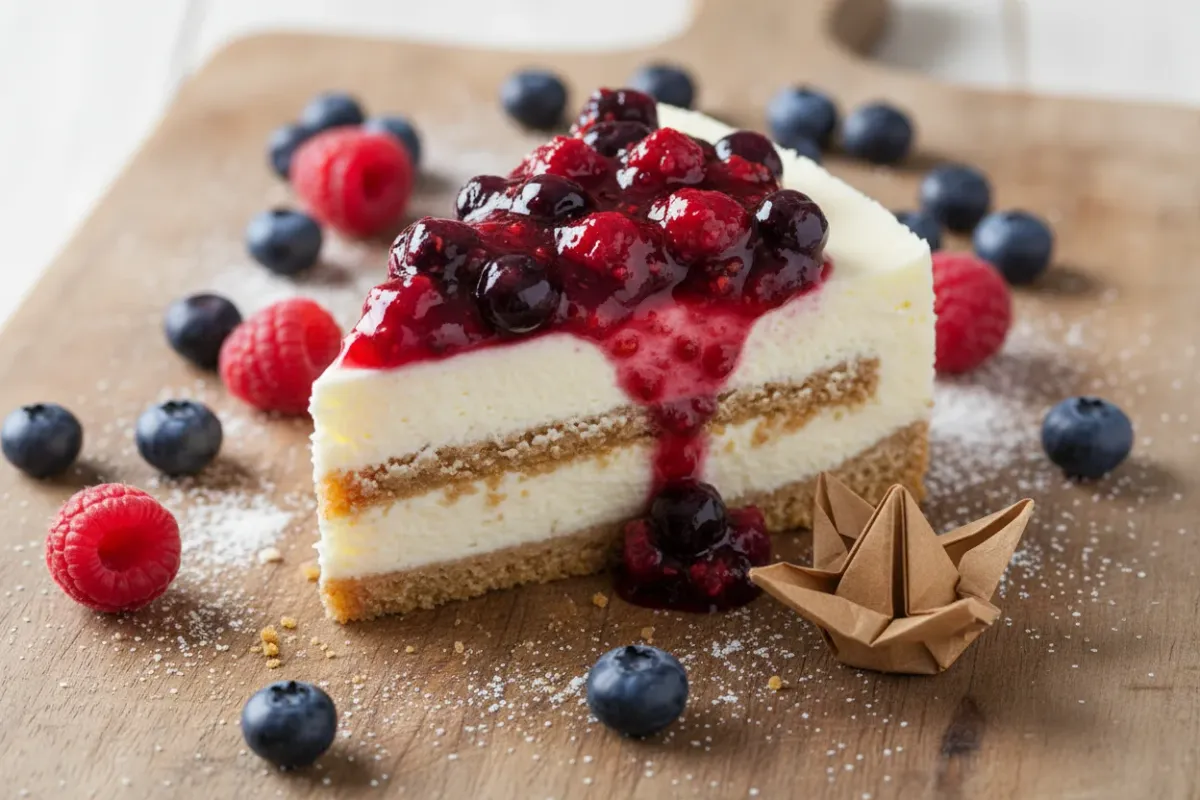
A layered cake where tender sponge alternates with creamy cheesecake and fresh berries isn't just a dessert — it's a true work of culinary art. And the best part: with the right approach to ingredients, this cake fits even into the diet of those who count every gram of protein and watch their calorie intake.
Berries are one of the most beneficial food categories in terms of nutrient density. Blueberries, raspberries, strawberries, and huckleberries contain minimal sugar compared to other fruits, yet are rich in antioxidants, vitamin C, and fiber. A serving of fresh berries (100 g) averages only 35–55 kcal, while packing a pharmacy's worth of health benefits.
Cream cheese, the foundation of cheesecake, provides a portion of protein and fats that deliver a lasting feeling of satiety. And if you replace traditional cream cheese with lighter alternatives, you can significantly reduce the calorie count per slice — without sacrificing taste or texture.
This cake consists of three key elements: sponge cake layers, a cheesecake layer, and a berry filling. Each of them can be adapted to specific goals — whether it's reducing calories, increasing protein, or going gluten-free. Below is a detailed breakdown of each stage with specific numbers and proven techniques.
What Makes Up the Perfect Berry Cheesecake Cake
Sponge Cake Layers: A Light Foundation
A classic vanilla sponge for a layered cake is baked at a moderate temperature for about 30–35 minutes — until a toothpick inserted into the center comes out clean. This is a tried-and-true doneness indicator, mentioned in the Lemon Blueberry Cheesecake Cake recipe from OMG Chocolate Desserts.
For a healthy version of the sponge, consider several substitutions:
- Flour: replace part of the all-purpose flour with oat, almond, or coconut flour. Almond flour adds protein and healthy fats, while coconut flour adds fiber.
- Sugar: erythritol, stevia, or a sweetener blend instead of refined sugar. This saves about 400 kcal across the entire cake.
- Butter: part of the butter can be replaced with Greek yogurt or unsweetened applesauce. This reduces the fat content while maintaining moisture.
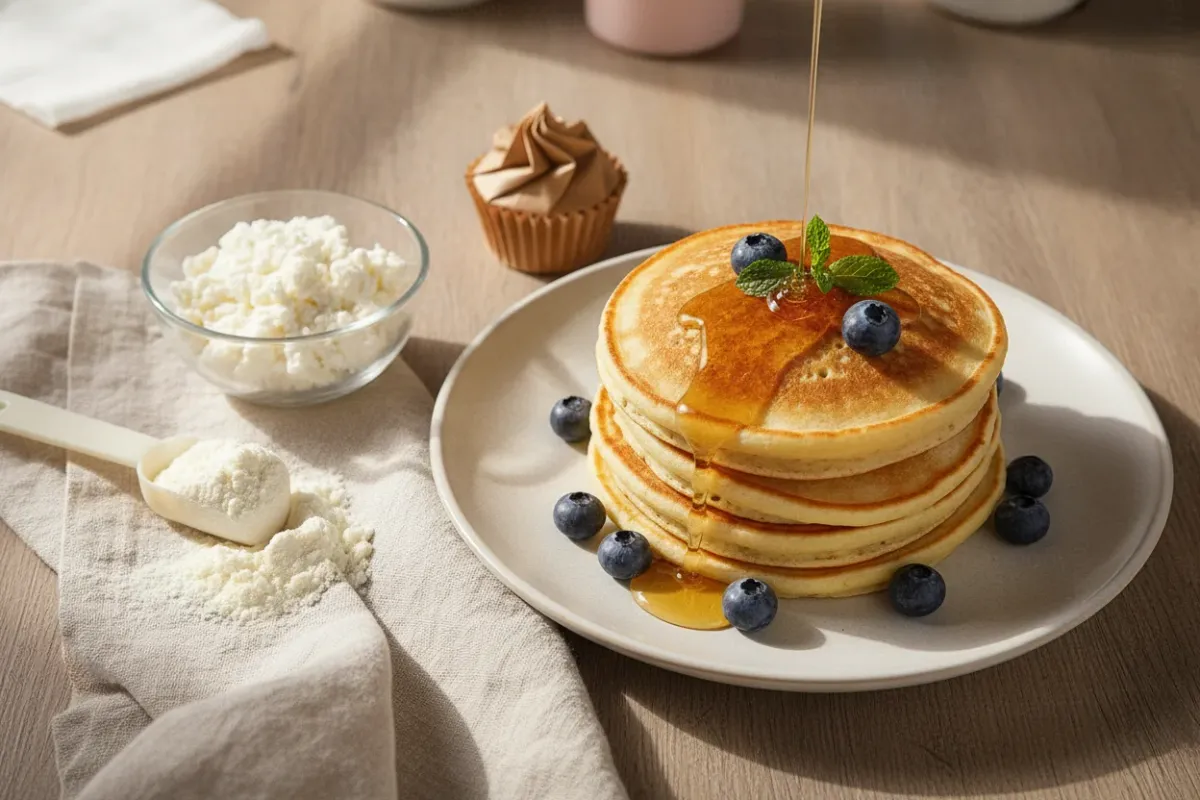
- Protein: adding 1–2 scoops of vanilla protein powder (whey or casein) to the batter increases the protein content by 20–40 g without significantly changing the texture.
The cake layers must be completely cooled before assembly — this is a critically important step. As noted in the Berry Cheesecake Cake recipe from My Cake School, the vanilla cake layers should be "completely cooled," and the cheesecake should be chilled for the recommended time before you begin assembly. Warm layers will melt the frosting and turn the cake into a mess.
Cheesecake Layer: The Heart of the Cake
The cheesecake layer is what transforms an ordinary cake into something special. The classic version uses cream cheese, eggs, and sugar. But it's precisely this minimalist combination that, as experts from King Arthur Baking warn, is most prone to surface cracking.
For a healthy version of the cheesecake layer, these work great:
- 5% fat quark/cottage cheese (pressed through a sieve or blended until smooth) — reduces calories and adds protein.
- Ricotta — delicate texture, less fat than cream cheese.
- A mix of cream cheese and Greek yogurt in a 1:1 ratio — a balance of taste and nutrition.
- Sour cream or heavy cream in small amounts — adds moisture and reduces the risk of cracking.
Adding a liquid component (sour cream, cream, or yogurt) isn't just a matter of taste. According to King Arthur Baking's research, the more liquid in the cheesecake batter, the more moist it stays during baking and the less likely it is to crack.
Berry Filling: Flavor and Color
Berries in a layered cake serve a triple function: they provide bright flavor, beautiful color on the cross-section, and extra health benefits. The best options for the filling:
- Fresh strawberries — sliced thin, as recommended in the My Cake School recipe, which uses "one layer of thinly sliced strawberries and a few blueberries."
- Blueberries — no slicing needed, they look beautiful on the cross-section.
- Raspberries — bright flavor, but delicate texture, so they're best used as a curd or compote.
- Mixed wild berries — frozen berries work perfectly for making a berry sauce.
Flour hack: if whole berries are being added to the cheesecake or sponge batter, they should be coated in a small amount of flour beforehand. As noted in the OMG Chocolate Desserts recipe, berries should be "gently tossed in flour" before folding into the batter. This prevents the berries from sinking to the bottom during baking.
Macros: Count Them and Don't Be Afraid
Here are the approximate macros for one slice of the healthy version of berry cheesecake cake (when cut into 12 servings):
| Nutrient | Classic Version | Healthy Version |
|---|---|---|
| Calories | 380–420 kcal | 210–250 kcal |
| Protein | 6–8 g | 14–18 g |
| Fat | 24–28 g | 10–14 g |
| Carbs | 36–42 g | 18–24 g |
The difference is impressive. By swapping sugar for sweetener, using quark instead of part of the cream cheese, and adding protein powder to the sponge, each serving becomes a proper high-protein snack rather than "empty" calories.
The Triple-layered Berry Cheesecake recipe from BBC Good Food is designed for 12 servings, which is the optimal number of slices for a 20–22 cm diameter cake. The figures above are calculated based on this exact serving count.
Step-by-Step Assembly: From Layers to Finished Cake
Assembling a layered cheesecake cake is the moment when everything must be thought through. Mistakes at this stage can undo hours of preparation.
Step 1: Preparing the Components
All cake elements are prepared in advance. The cake layers and cheesecake layer can be made a day before assembly. As recommended in the OMG Chocolate Desserts recipe, you should "cool completely to room temperature, then wrap in plastic wrap and refrigerate overnight." This not only saves time on the day of serving but also makes the components more stable during assembly.
The cake layers must be level. According to the layer cake assembly guide from Sally's Baking Addiction, level layers are the key to the stability of the entire structure. If a layer baked with a dome on top, it should be carefully trimmed with a long knife.
Step 2: First Layer and Frosting Dam
The first cake layer is placed on a cake stand or plate. Around the perimeter of the layer, a frosting "dam" is piped — a border about 1.5–2 cm tall, set approximately 1 cm from the edge. The My Cake School recipe specifies: the frosting dam is piped "approximately 1.5 cm from the edge of the cake." This dam holds the filling in place and prevents it from leaking out the sides.
Inside the dam, the berry filling is spread: a thin layer of berry compote or fresh berries.
Step 3: Cheesecake Layer
The chilled cheesecake is removed from the pan. To do this, run a thin knife between the cheesecake and the wall of the springform pan. As advised by My Cake School, it's better to warm the knife with hot water first — this way it glides through more easily and evenly.
The cheesecake layer is placed upside down on the first cake layer — this creates a perfectly smooth surface. This technique is mentioned both in the My Cake School recipe and in Sally's Baking Addiction guide, where the second cake layer is recommended to be placed "upside down" to create a level base for the next layer.
Step 4: Frosting Between Layers
For each layer of frosting between the cake layers, approximately 180–240 g (¾–1 cup) is used, as recommended by Sally's Baking Addiction. Don't skimp on the frosting — it not only holds the layers together but also ensures moisture in every bite.
For a healthy version of the frosting, these work great:
- Cream cheese frosting made with cream cheese and sweetener
- Whipped Greek yogurt with vanilla
- Protein frosting made with ricotta
Step 5: Final Assembly and Chilling
The top cake layer is placed upside down — this way the top surface of the cake will be perfectly smooth. Sally's Baking Addiction confirms: if you place the top layer upside down, you'll get "very smooth sides and a perfectly flat top."
After assembly, the cake must go into the refrigerator. At least 45 minutes, but preferably several hours. As warned in the OMG Chocolate Desserts recipe, you should "chill for at least 45 minutes before slicing, otherwise the cake may fall apart when cut." The BBC Good Food recipe recommends even longer chilling — "4 hours or overnight."
Secrets to a Perfect Crack-Free Cheesecake Layer
Cracks on a cheesecake are the most common nightmare of home bakers. But if you understand the causes, they're easy to avoid.
Temperature Is the Main Enemy
Cheesecake doesn't tolerate sudden temperature changes. As experts at Jenny is Baking emphasize, "cheesecake hates sudden temperature changes" — this rule applies both during baking and cooling.
Sally's Baking Addiction recommends a specific technique: when the cheesecake is done, you should "turn off the oven, crack the door open, and leave the cheesecake inside for 1 hour." This gradual cooling minimizes the risk of cracking.
Another important point, mentioned on Reddit in the AskBaking community: all ingredients should be at room temperature. The temperature difference between cold eggs and warm cheese creates an uneven texture that is prone to cracking.
Don't Overmix the Batter
When beating cream cheese with eggs and sugar, air gets incorporated into the batter. As King Arthur Baking explains, "overmixing or beating the cream cheese, eggs, and sugar too vigorously incorporates air into the batter, which weakens the cake's structure and makes it more prone to cracking."
The rule is simple: mix on low speed until smooth. Add eggs one at a time, incorporating each on the lowest setting.
Water Bath — Solves Everything
Jenny is Baking calls the water bath a "game changer" and recommends using one "even if the recipe doesn't call for it." A water bath ensures even heating and a humid environment inside the oven.
If you don't want to bother with wrapping the pan in foil (to prevent water from seeping in), there's an alternative: Sally's Baking Addiction suggests "placing a large baking pan filled with hot water (~1 inch deep) on the lowest oven rack." On Reddit in the r/Baking community, a similar approach is recommended: place a container of water in the oven 30 minutes before baking begins to "effectively create steam in the oven without all the fuss."
If Cracks Still Appear
Don't panic. First, in a layered cake the cheesecake layer is hidden between the sponge layers, so no one will see the cracks. Second, there's a proven cover-up method: one commenter on Sally's Baking Addiction suggests "mixing sour cream with a small amount of sweetener and spreading it over the cooled cheesecake as a glaze."
How to Prevent Berries from Bleeding Between Layers
This is a common question when assembling multi-layered cakes with berries. Fresh berries release juice, which can stain the frosting and soak into the cake layers.
Several proven solutions:
Berry compote instead of fresh berries. Cook the berries with sweetener and a small amount of cornstarch until thickened. This filling is stable and won't run.
Frosting dam. The already-mentioned border of firm frosting around each cake layer physically contains the filling.
Thin layer. Don't pile on too many berries — a thin layer (5–7 mm) holds significantly better than a thick one.
Blot with paper towel. If using fresh berries, lightly blot them to remove excess surface moisture.
Gelatin layer. A thin layer of berry jelly (with agar-agar for the vegan version) on top of the berries holds them in place and creates a beautiful gloss.
Variations for Different Goals
High-Protein Version (for muscle gain)
- Add 2 scoops of casein protein to the cheesecake batter
- Use 9% fat quark/cottage cheese instead of 5%
- Sponge made with egg whites and protein powder
- Total: ~22–26 g of protein per serving
Keto Version (for a low-carb diet)
- Sponge made with almond flour, no regular flour
- Erythritol instead of sugar
- Cheesecake made with full-fat cream cheese
- Berries — only raspberries and blackberries (lowest in carbs)
- Total: ~6–8 g of net carbs per serving
Light Version (for a calorie deficit)
- Sponge with half the flour replaced by protein powder
- Cheesecake made with fat-free quark/cottage cheese with added gelatin for texture
- Minimal fat, emphasis on protein
- Total: ~160–190 kcal per serving
Storage and Advance Preparation
Berry cheesecake cake is the perfect dessert for making ahead. All components can be prepared 1–2 days before serving, which is convenient for meal prep or a holiday table.
- Cake layers: store wrapped in plastic in the refrigerator for up to 3 days, or in the freezer for up to a month.
- Cheesecake layer: in the refrigerator for up to 4 days, in the freezer for up to 2 months.
- Berry compote: in the refrigerator for up to 5 days.
- Assembled cake: in the refrigerator for up to 3 days. Before serving, take it out 15–20 minutes early — this will make the texture softer.
The BBC Good Food recipe suggests chilling the cake after assembly for "4 hours or overnight" — and this is exactly the case where a dessert made the day before turns out better than a freshly assembled one.
Frequently Asked Questions
How do you prevent the berry filling from bleeding between the layers?
The best method is to use berry compote (berries cooked with cornstarch) instead of fresh berries, and to always pipe a frosting dam around the perimeter of each cake layer. Fresh berries should be blotted with a paper towel before placing.
How many days before serving can you assemble the cake?
The assembled cake keeps in the refrigerator for up to 3 days without losing quality. The cake layers and cheesecake layer can be made a day before assembly — as recommended in the OMG Chocolate Desserts recipe, they should be cooled, wrapped in plastic, and refrigerated overnight.
Can this cake be made as a sheet cake (flat cake)?
Yes, all components can be baked on a rectangular baking sheet. The sponge is spread in a thin layer, and the cheesecake is baked in the same type of pan. Assembly is the same: layer — frosting — berries — cheesecake — layer. Baking time is reduced by 5–10 minutes since the layers are thinner.
How do you achieve even layers without colors mixing?
Key techniques: completely cool each component before assembly, use a firm frosting (not runny), pipe a frosting dam along the edge, and always chill the cake after assembly for at least 45 minutes. The cheesecake layer is placed upside down for a perfectly smooth surface.
Try It Yourself
Berry cheesecake cake is the kind of dessert that looks like a work of art yet is simpler to make than it seems. Especially if you split the process over two days: bake the layers and cheesecake on day one, then assemble and decorate on day two.
Healthy eating isn't about giving up delicious food. It's about knowing how to make delicious food nutritious. When a slice of cake has 18 grams of protein and only 210 calories, you can indulge without guilt or a calculator in hand.
This article is for informational purposes only and is not medical advice. Consult a doctor or dietitian before making dietary changes.